
How to use

Every feature, step by step

NinjaClip is a list of switches: you turn on what this video needs and leave the rest alone.

Below, the whole path from raw file to MP4 — then every switch, with the exact click, where it sits on screen and when to leave it off.

The usual path

Six steps. Steps 2 and 4 are optional — if all you want is the video without pauses, do 1, 3, 5 and 6.

1

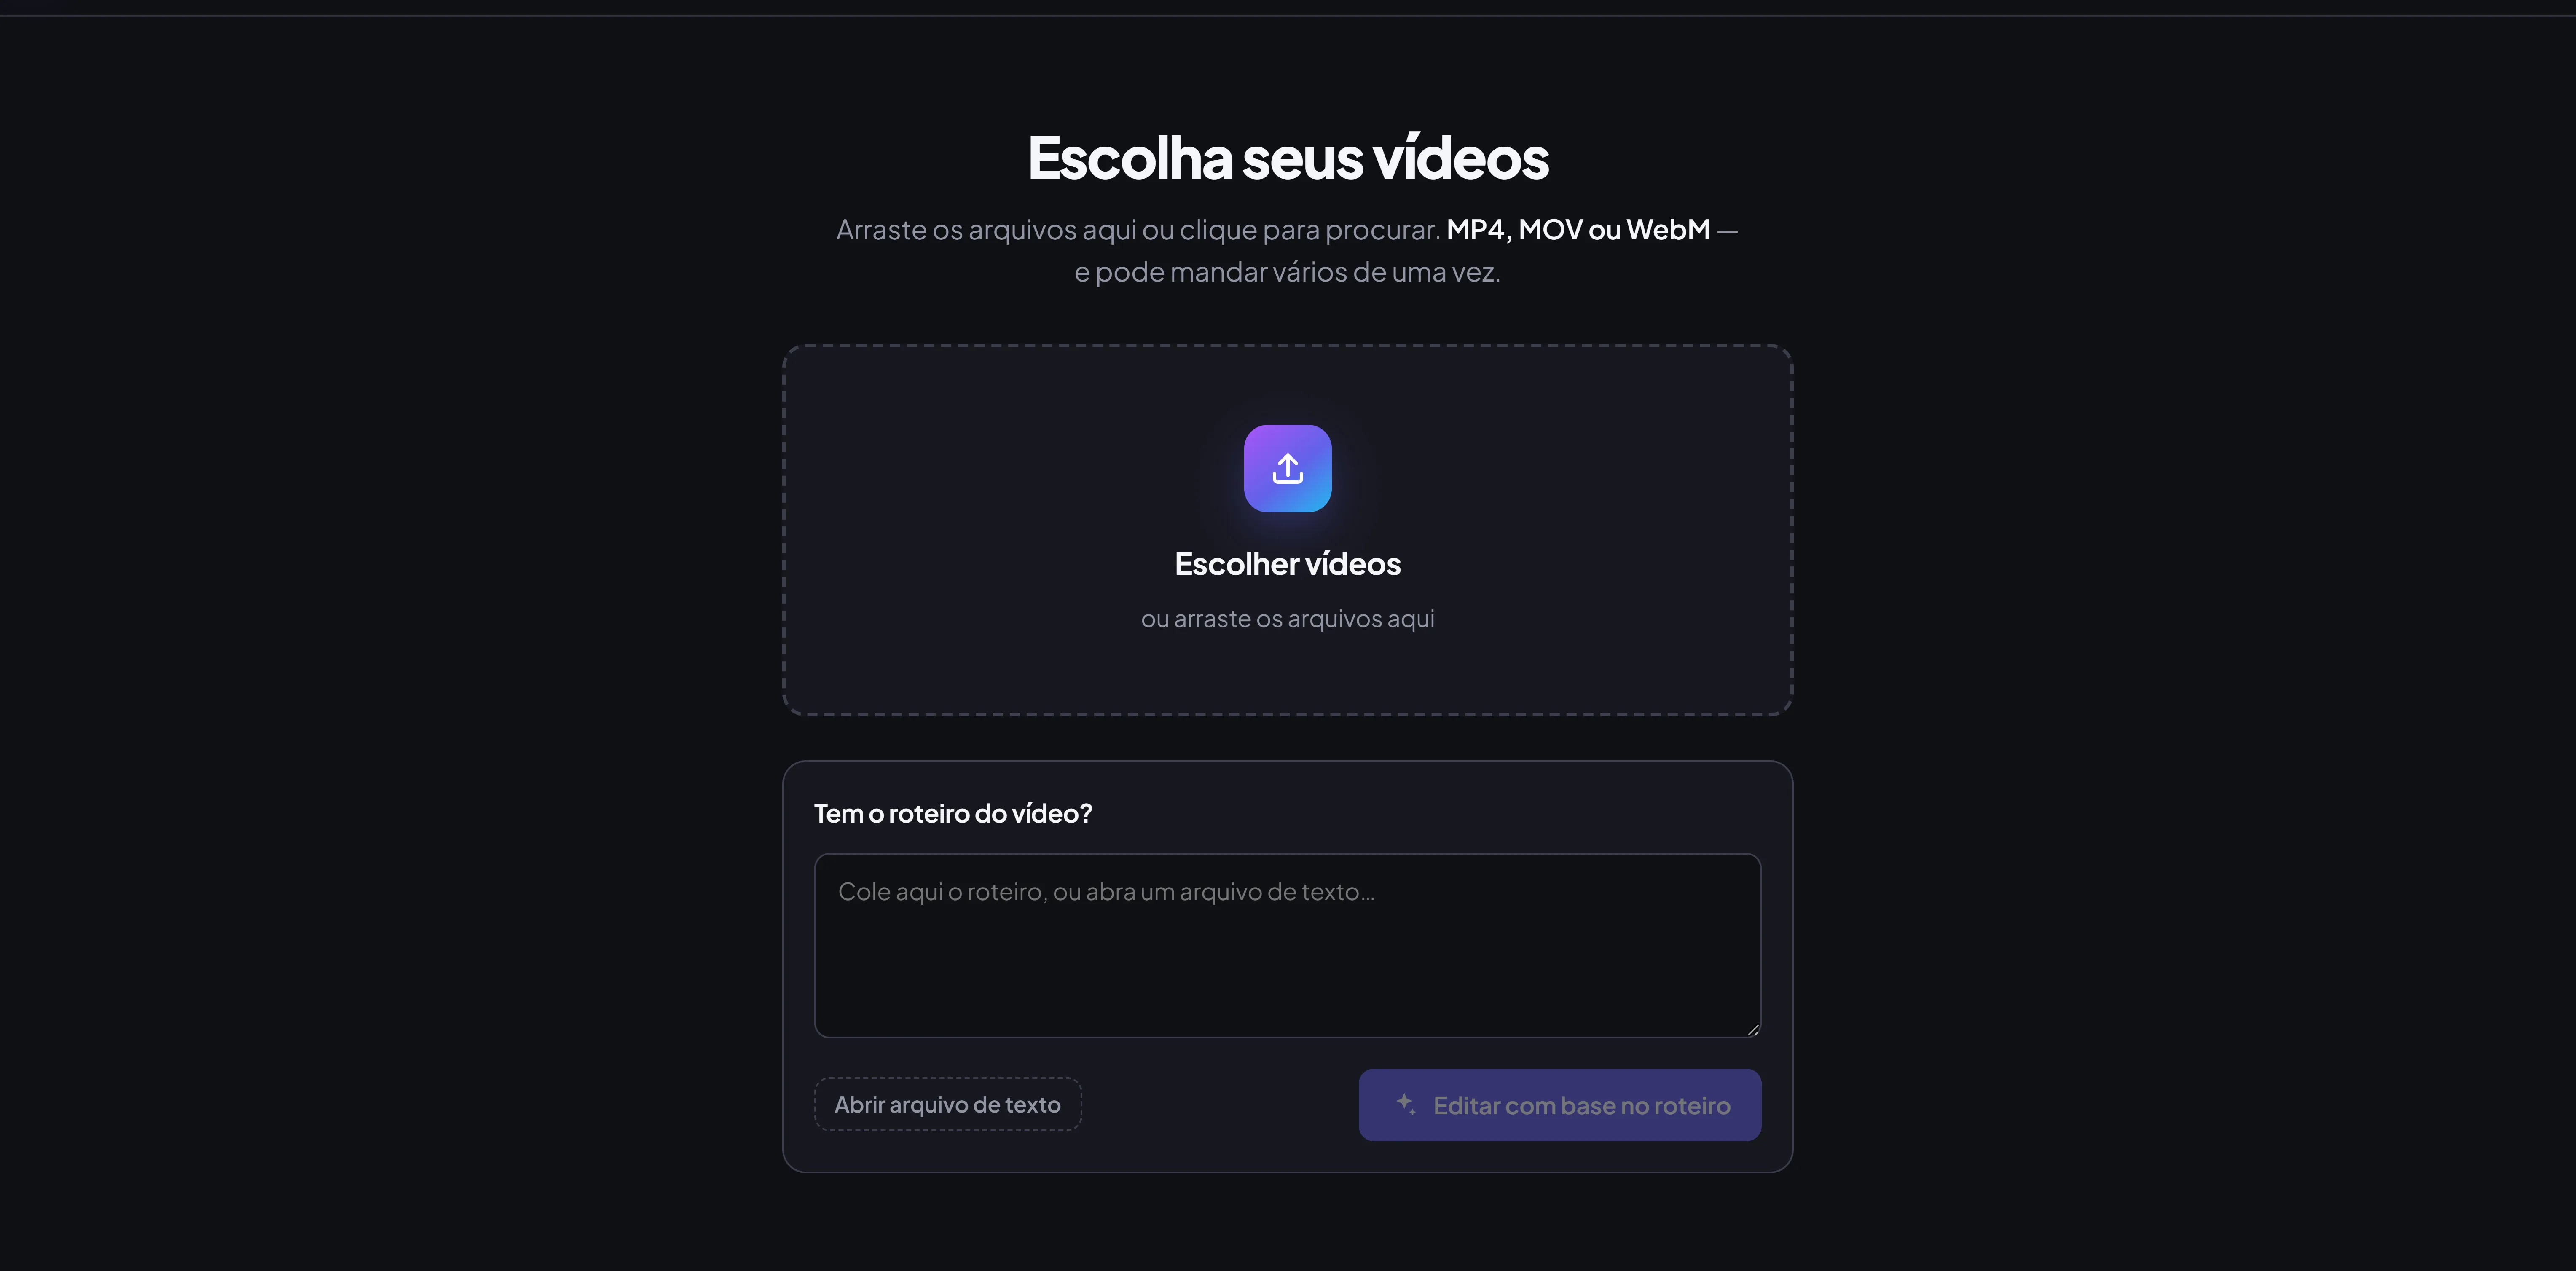
Drop the videos on the page

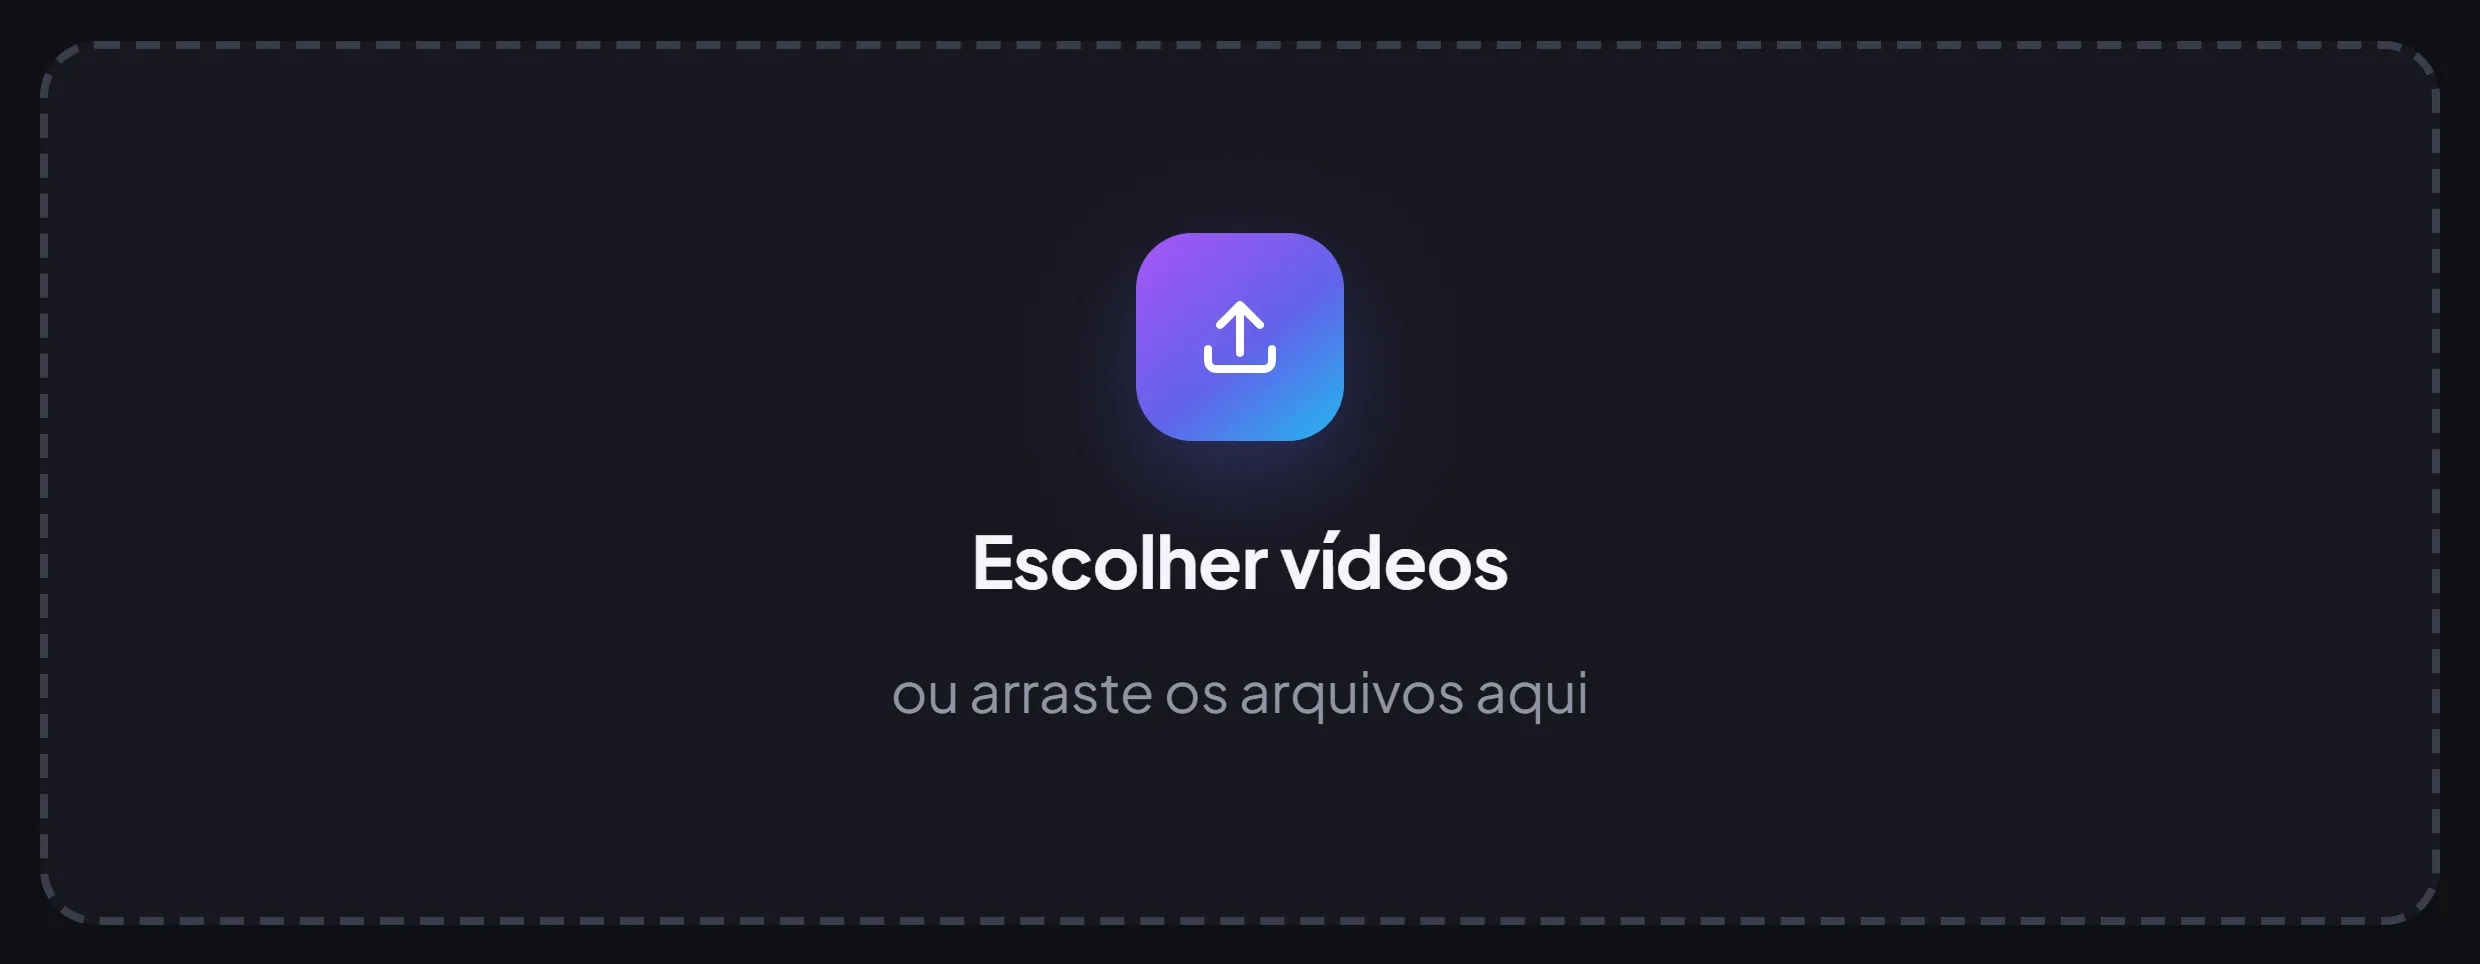
The screen opens on Choose your videos. Drag the files in or click Choose videos. MP4, MOV or WebM, and you can send several at once — each becomes a scene.

The file is read from your disk. It is not uploaded anywhere.

Drop the videos on the page
2

If you have the script, hand it over

Under Do you have the script?, click Open a text file and then Edit against the script.

With the script in hand the AI knows what was meant to be said — and gets the repeated takes far more often.

If you have the script, hand it over
3

Look at the cut that already happened

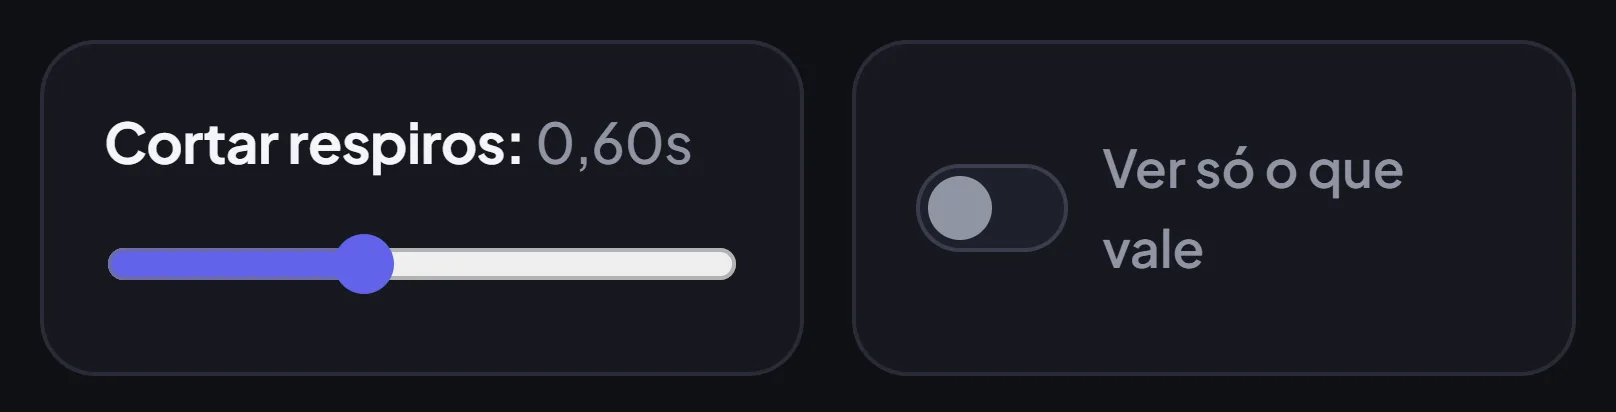
The pauses were cut the moment the video opened. The Cut breaths slider changes the rule: fewer seconds, tighter cut.

Every removed take sits in the list and comes back with one click.
Look at the cut that already happened
4

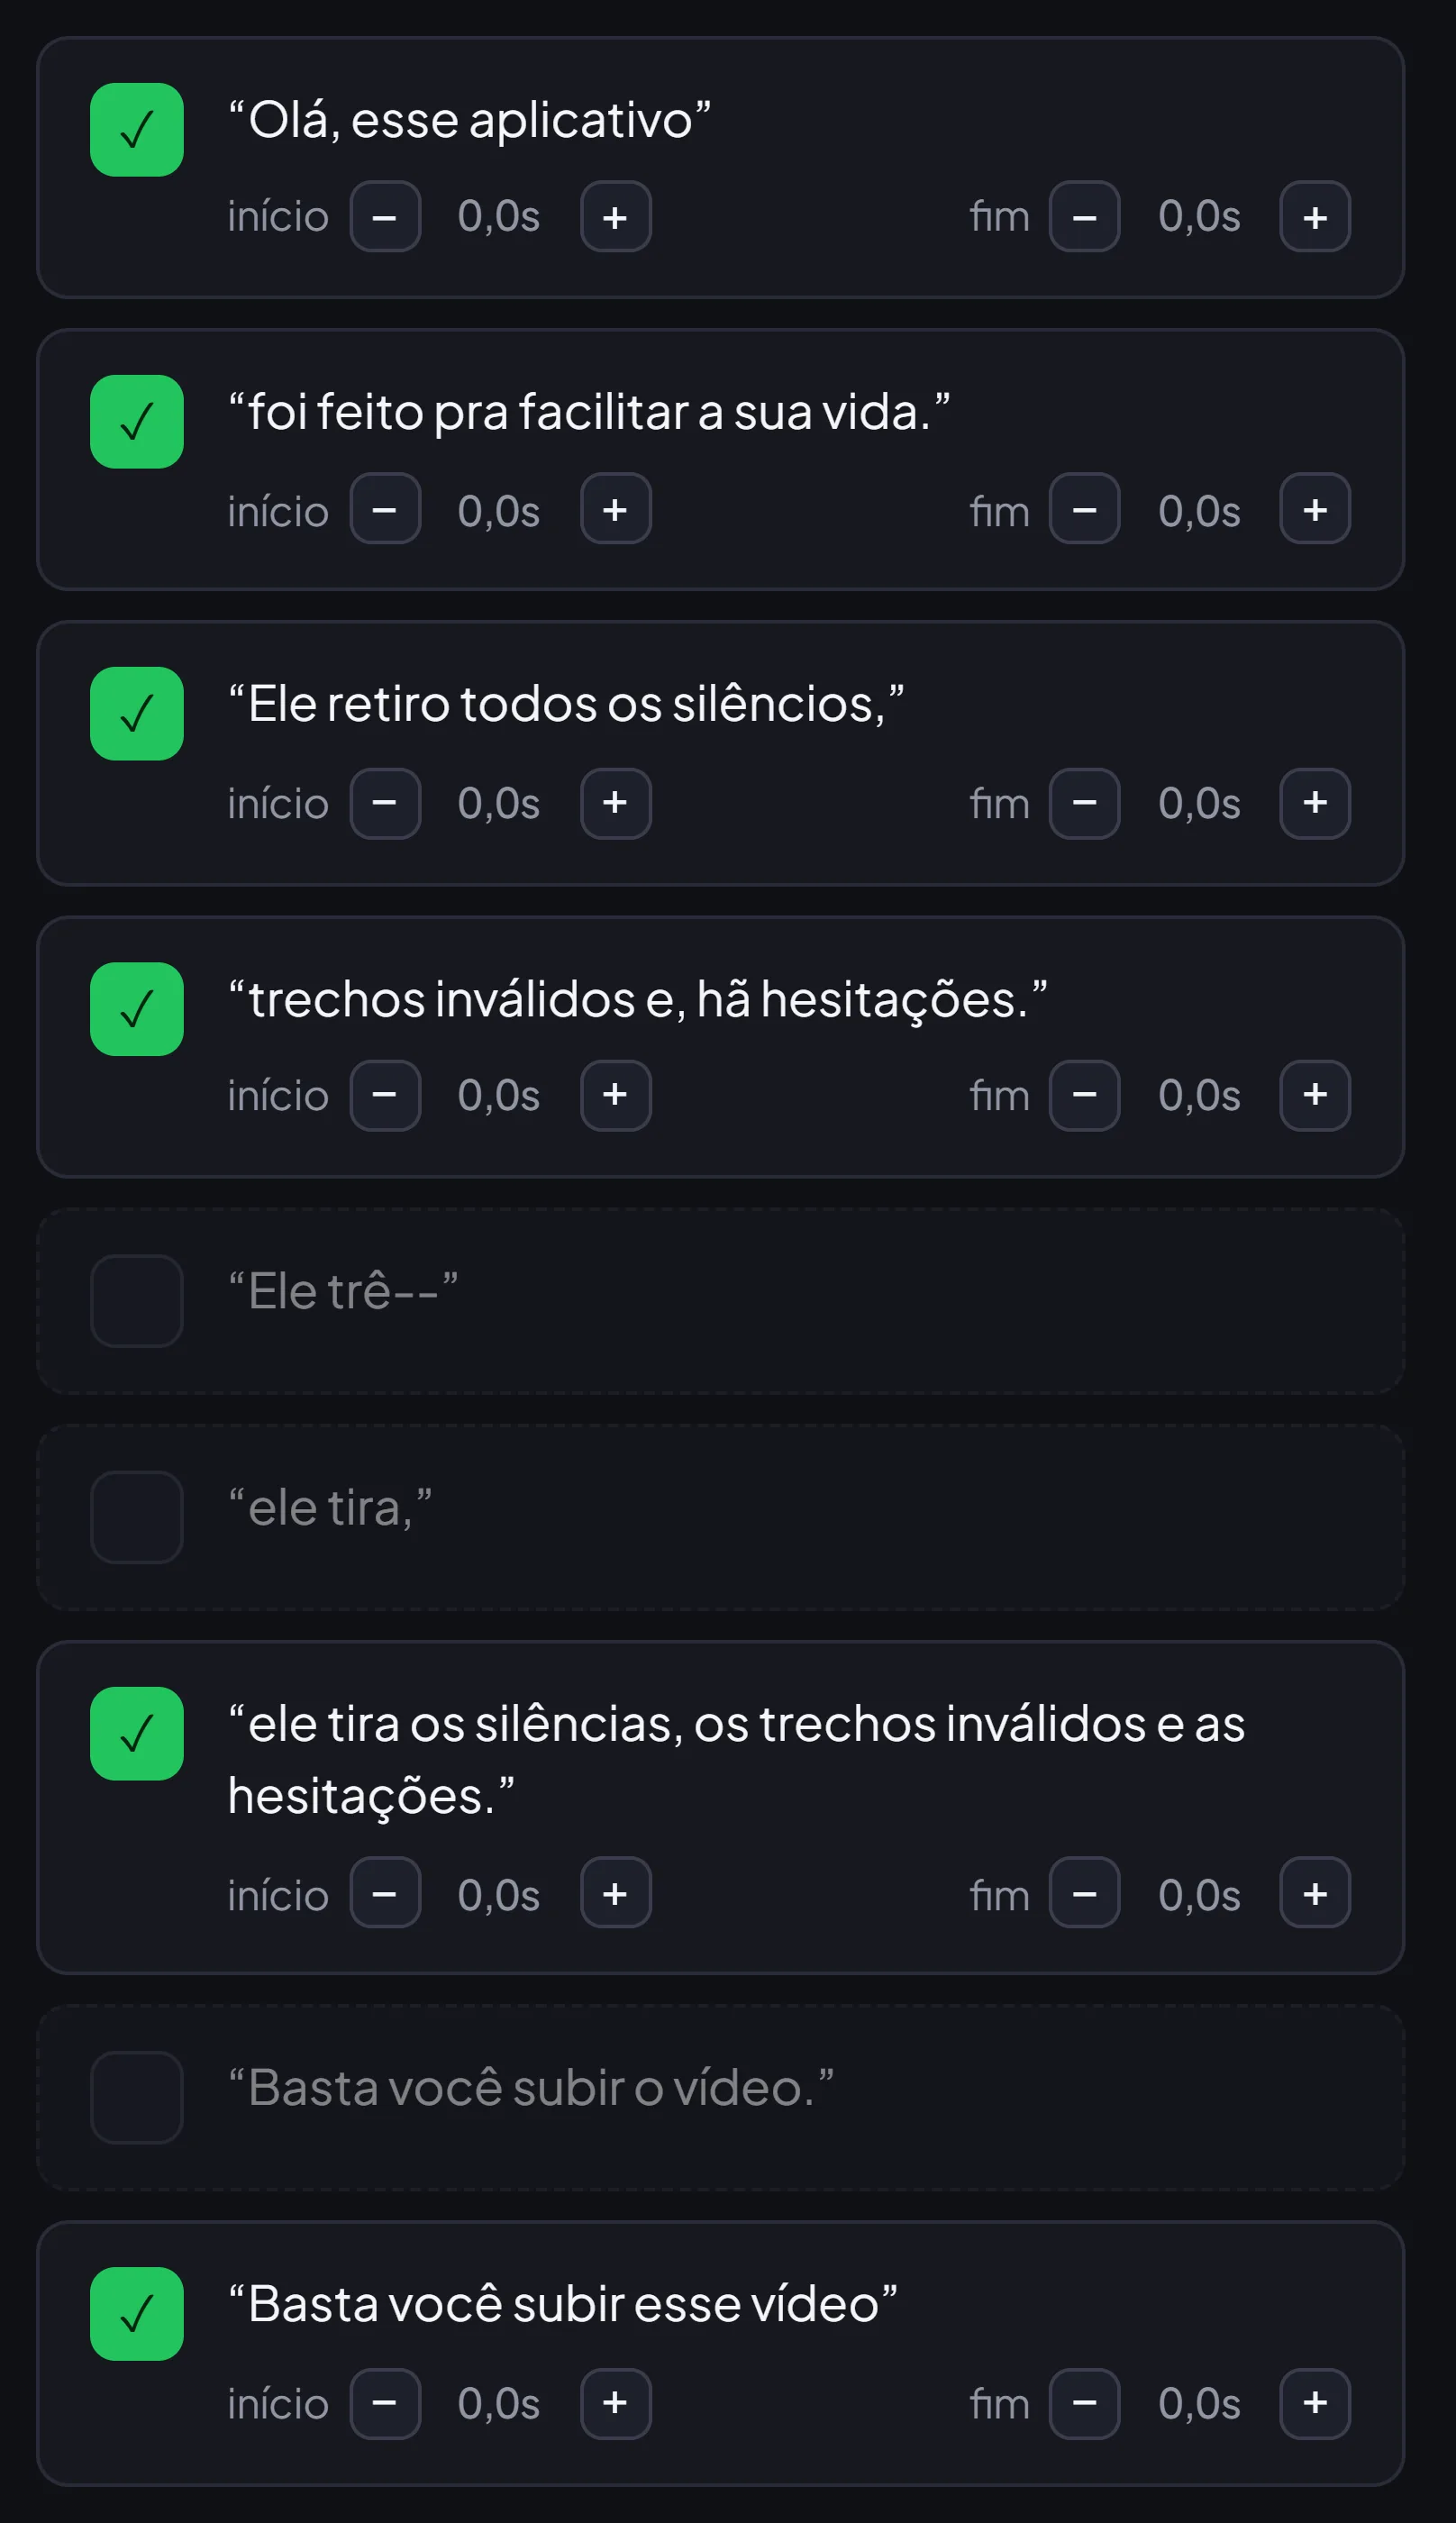
Let the AI pick the takes

Turn on Only what is worth it. False starts, repeated lines and off-topic chatter come back unticked, one by one.

Disagree? Click and the take returns. Nothing disappears quietly.

Let the AI pick the takes
5

Turn on what this video needs

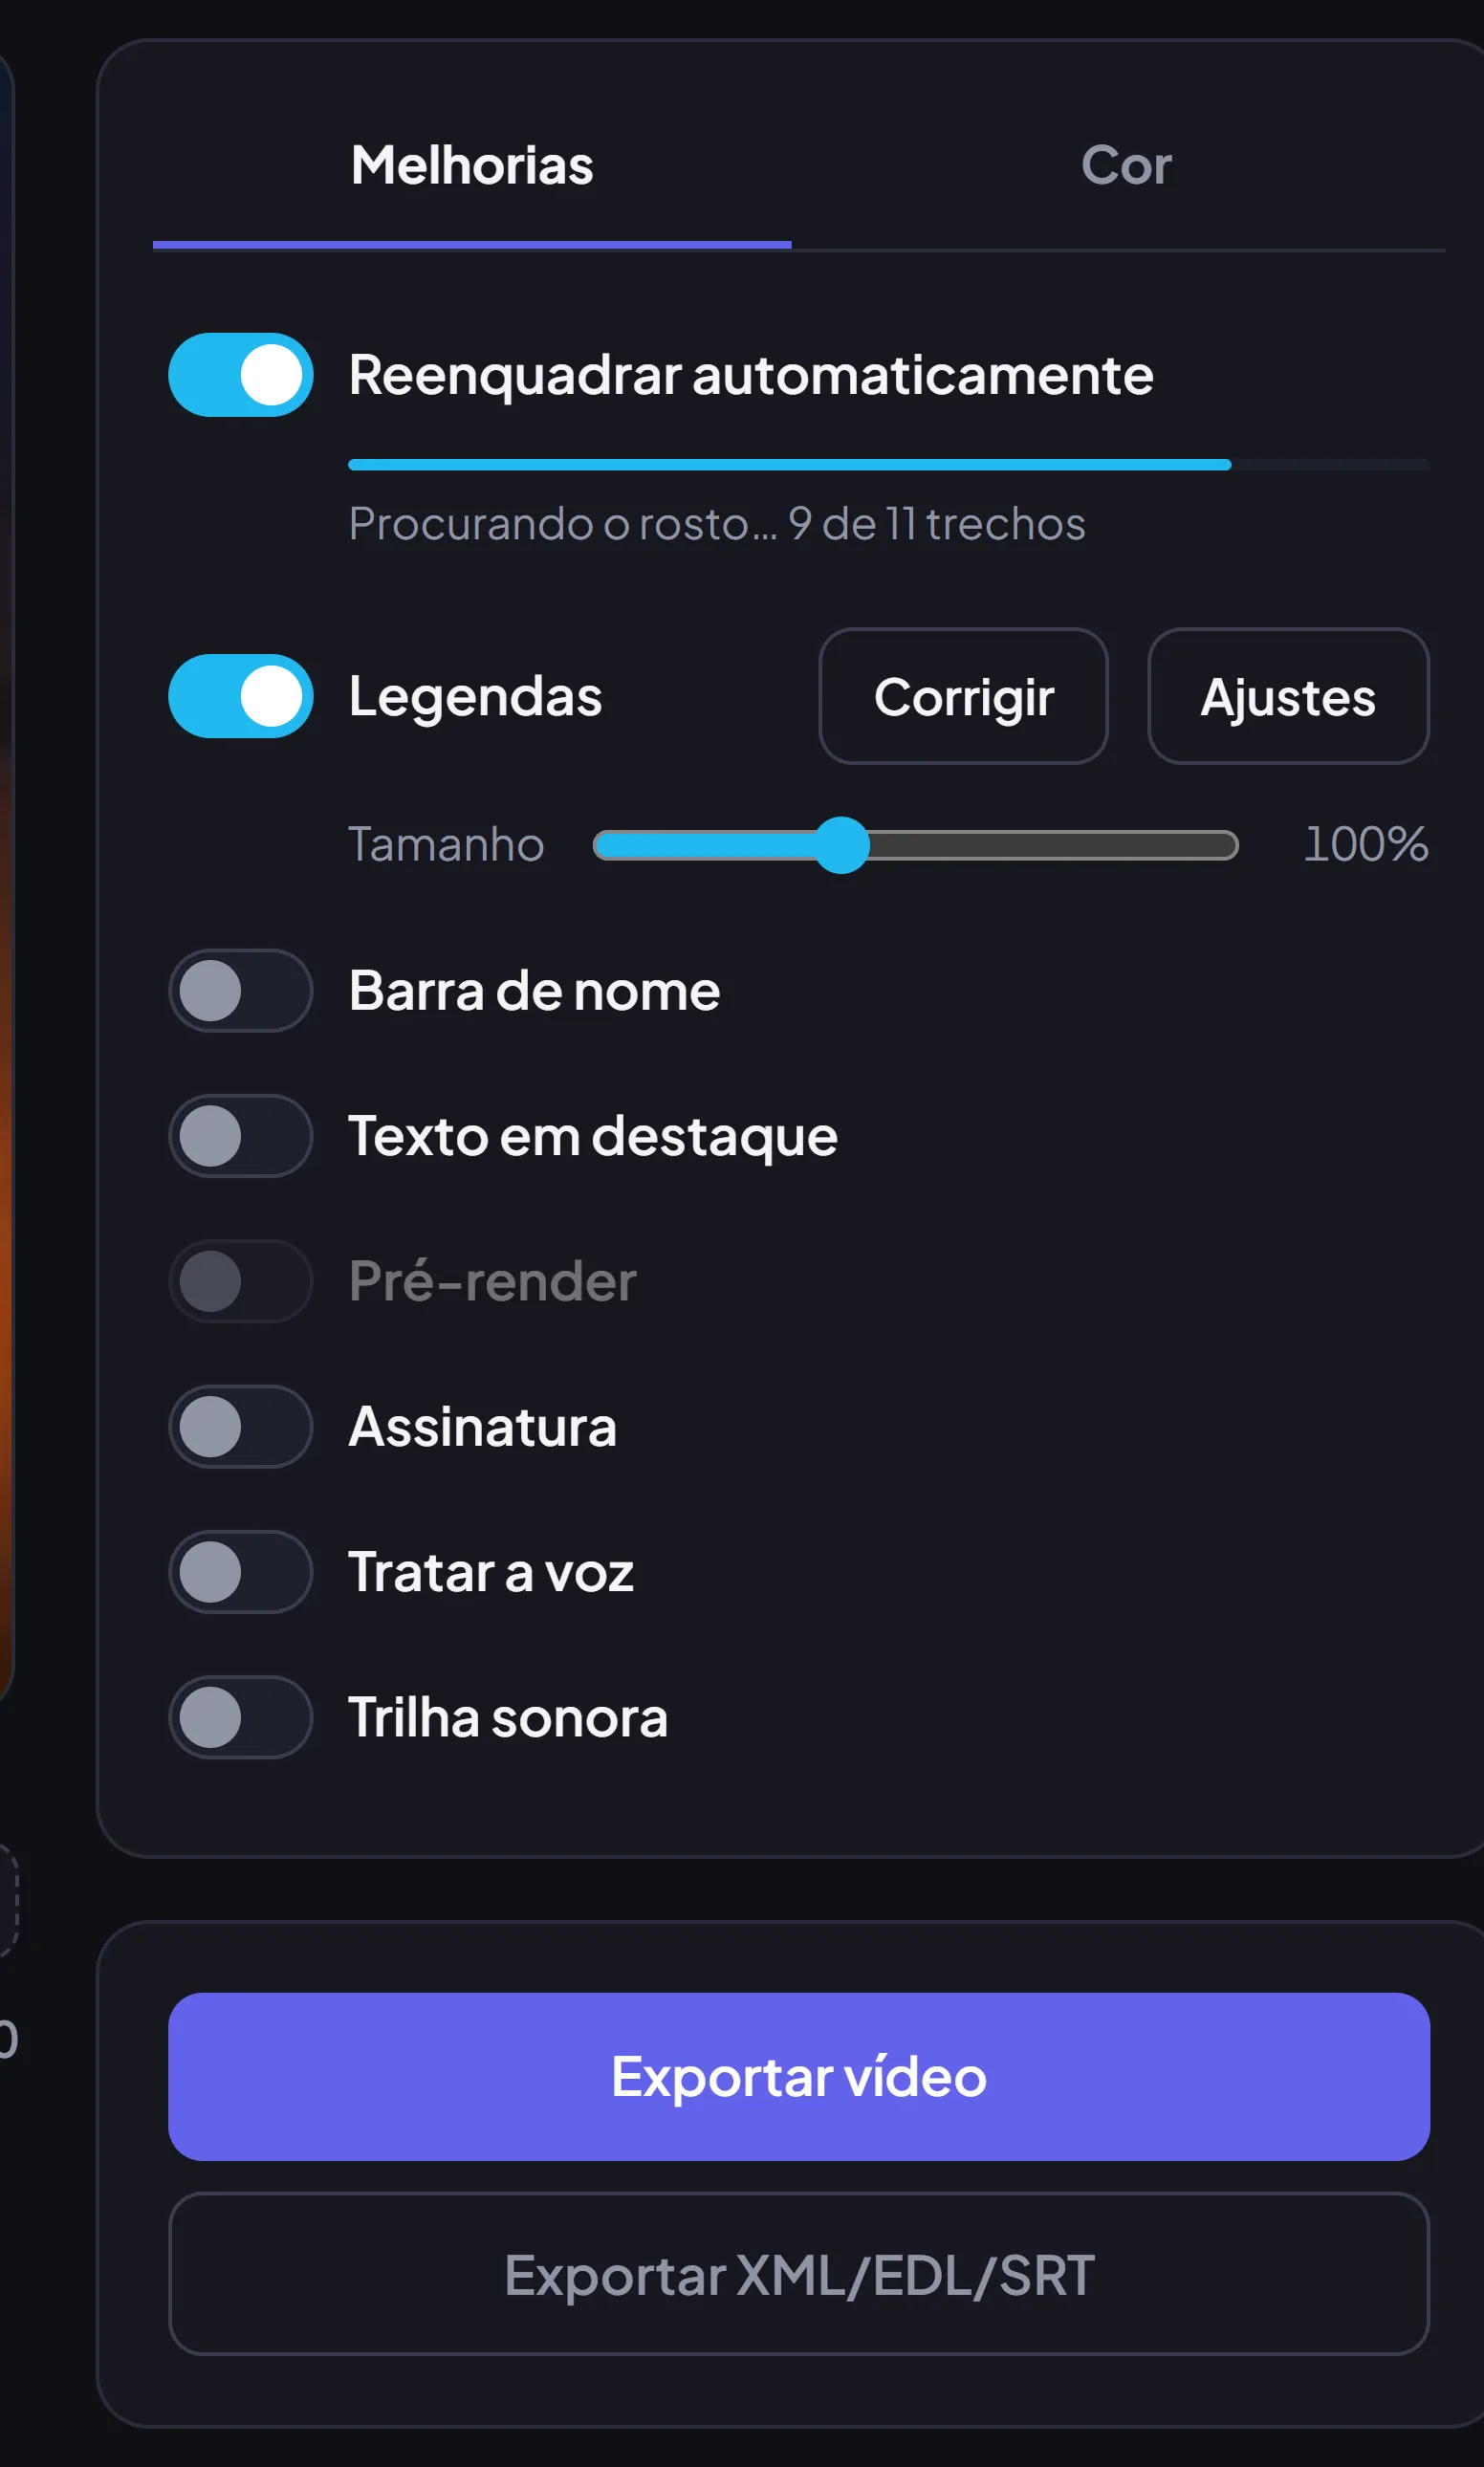
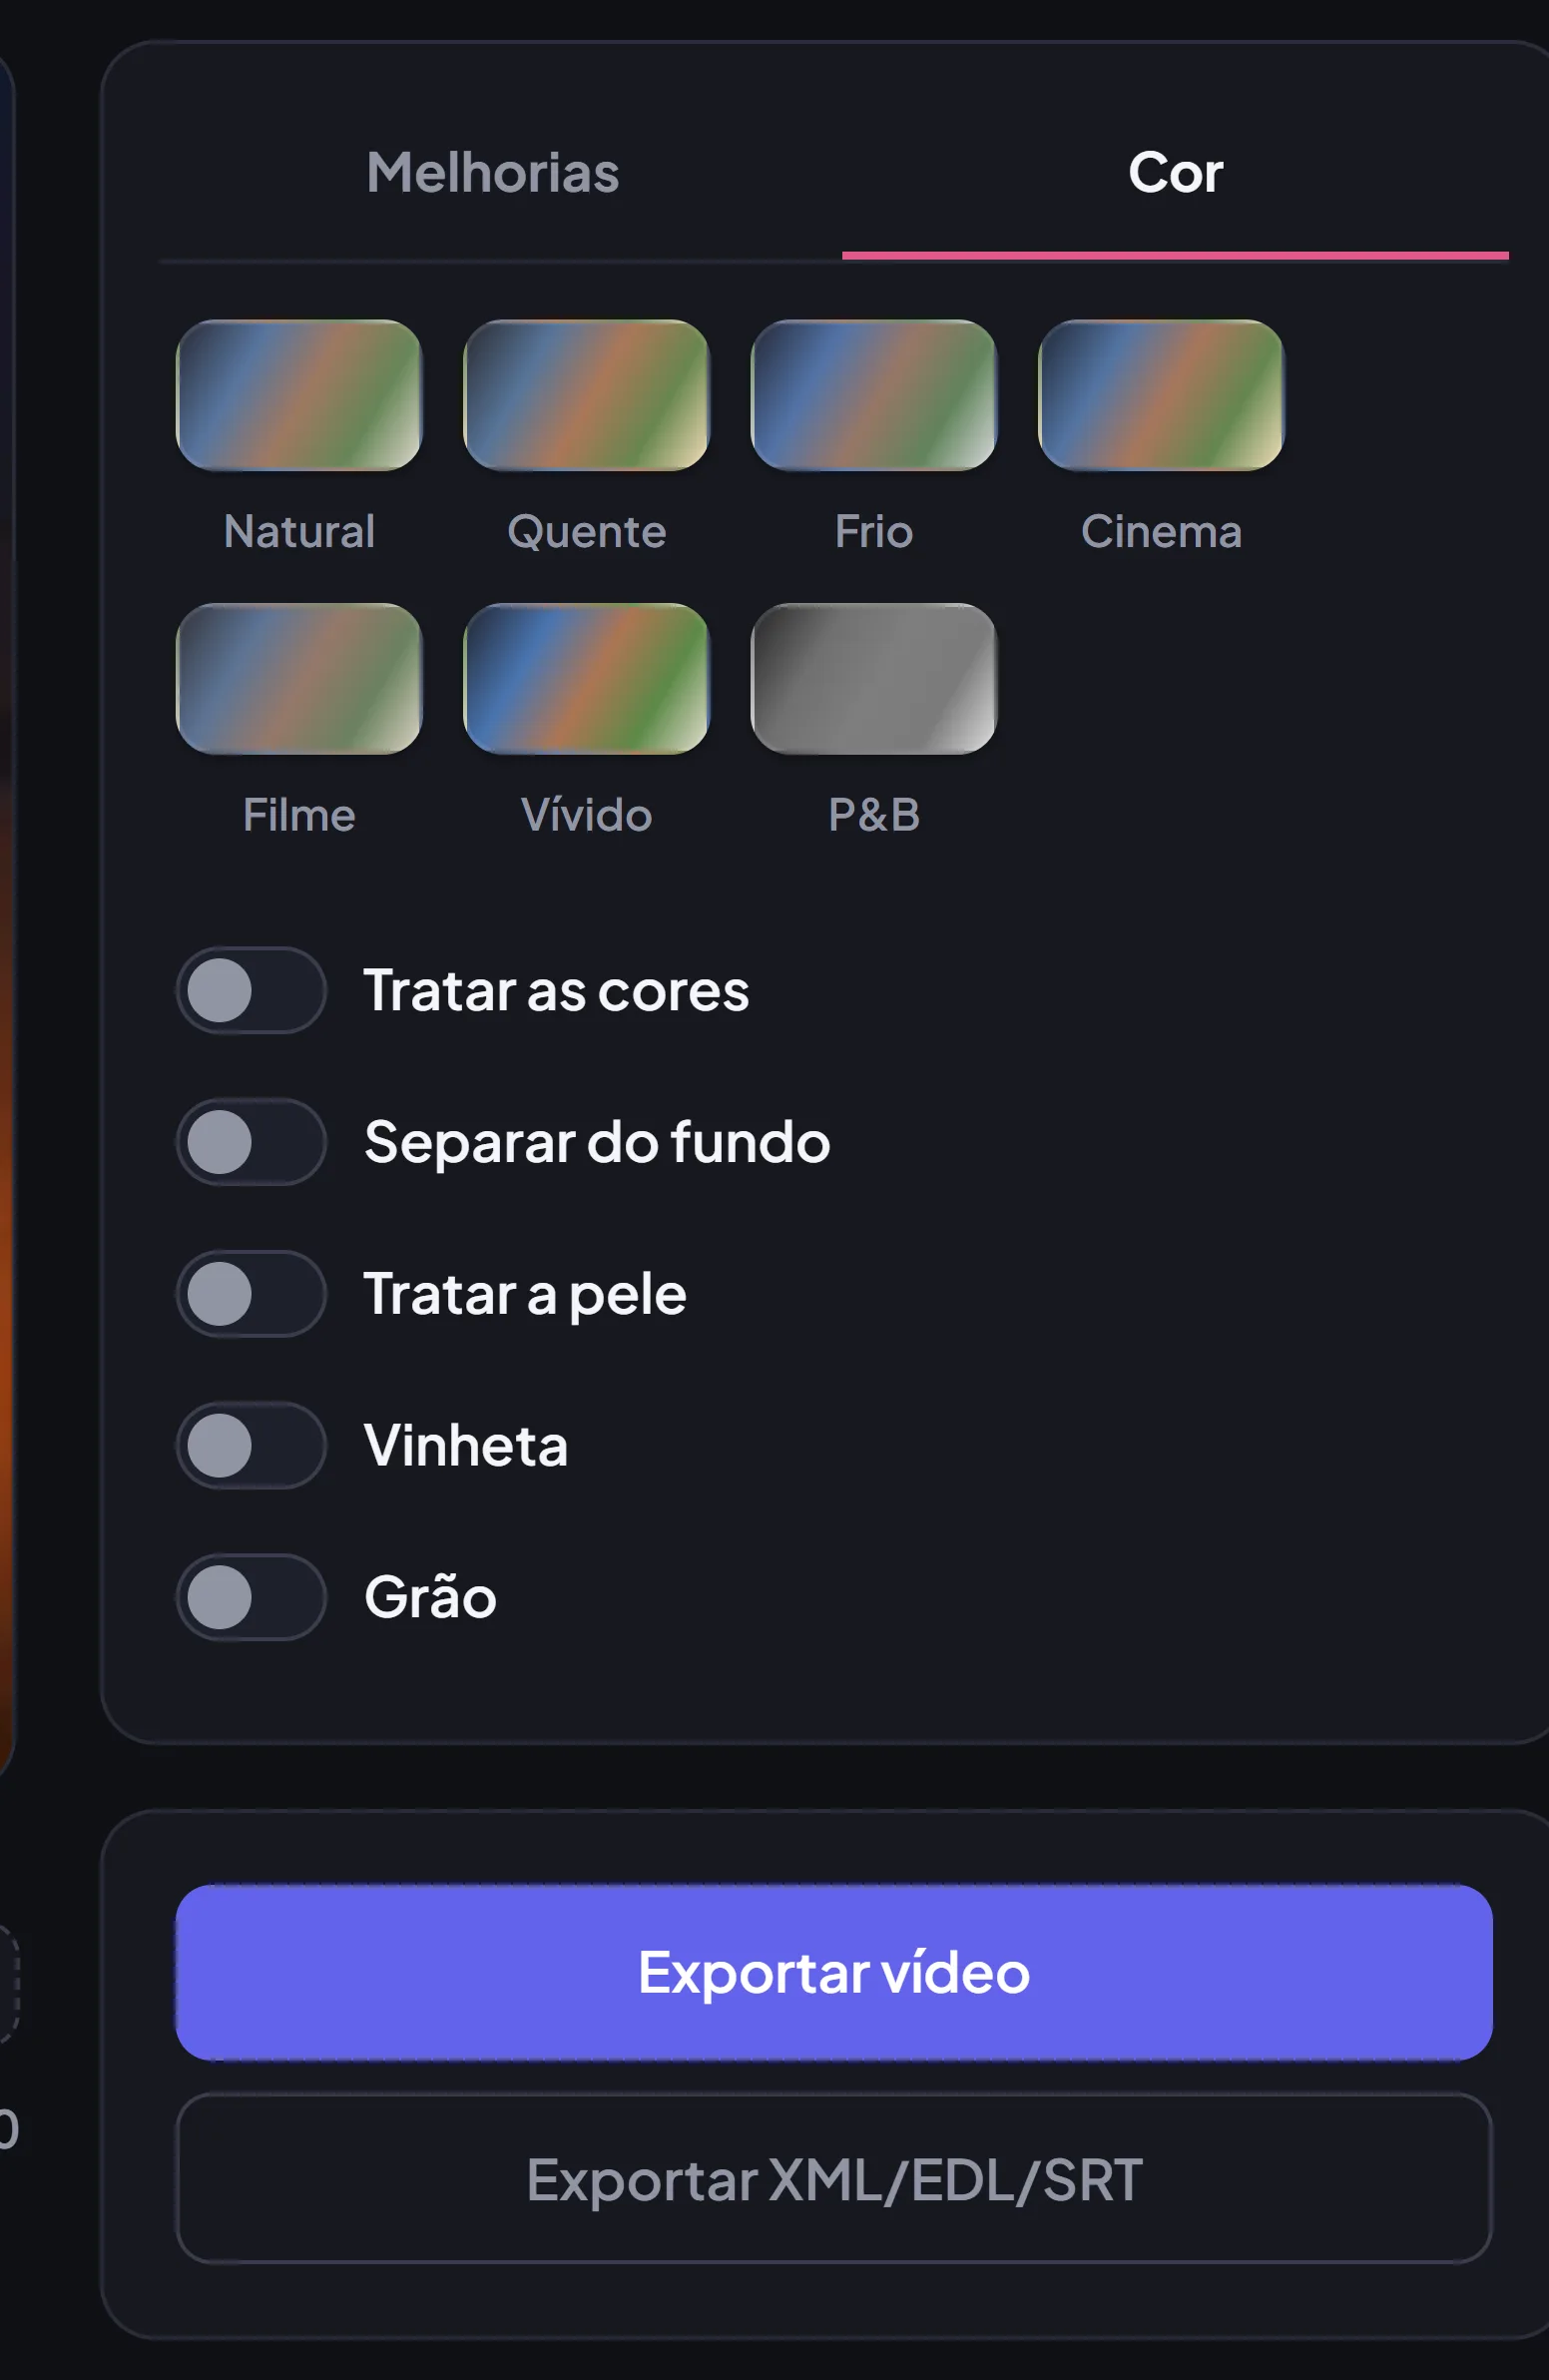
Right-hand column, two tabs: Improvements and Colour. Each switch has its own Settings, and everything shows up in the preview before it becomes a file.

You do not need all of them. Most videos use three or four.

Turn on what this video needs
6

Pick the format and export

The formats sit under the player: 9:16 (Reels, TikTok, Shorts), 4:5 (Instagram feed), 1:1 and 16:9 (YouTube). Click a chip to see it; click the chip you already picked to adjust that format.

Then Export video. Keep the tab open and visible until it finishes.

Pick the format and export

Cutting and selection

What decides which pieces make it in.

Cut breaths

free, no account

Silence, hesitation and dead air are removed on your own computer, before anything is sent. On real material, 52 s of recording yielded 23 usable seconds from this alone.

  1. Open the video. The cut is already done — the preview plays without the silences.
  2. Drag the Cut breaths slider left for a tighter cut, right to respect the speaker's breathing.
  3. At 0.00 s it cuts every pause there is: the wall-to-wall pace social feeds like.
  4. Listen before moving on. Every removed take is in the list and comes back with one click.
Cut breaths
Where it is
Just above the take list, on the left.
Careful
At zero, a measured speaker sounds rushed — and the join shows if the camera moved.
Only what is worth it

15 reads/day, no accountno quota with an account

The AI reads the transcript and unticks false starts, repeated lines and off-topic chatter. It suggests; you decide.

  1. Turn on Only what is worth it, on the left.
  2. Only the audio is sent to be read — the video stays on your computer.
  3. The list now shows each take ticked or unticked. Click to bring back what you want to keep.
  4. Changed the breath cut afterwards? Re-read the audio brings the reading up to date.
Only what is worth it
Turn it on when
You recorded the same line several times. The good one is usually the last.
Without an account
15 reads a day and the first 5 min of each video. The breath cut still covers all of it.

Fix the captions

free account

Speech reading gets proper nouns wrong — yours, the company's, the product's. Fix it once and it holds for the whole video.

  1. Open Fix the captions, below the player.
  2. Click the timecode next to the line to see that take.
  3. Type the right word. The change goes into the captions and into what the AI uses to decide.

Picture

Framing, colour, background and finishing — on the Colour tab, except reframing, which lives under Improvements.

Reframe automatically

free account

One recording becomes 9:16, 4:5, 1:1 and 16:9. The crop follows whoever is speaking, one framing per take — and it switches on the cut, where it does not show.

  1. Turn on Reframe automatically, at the top of the Improvements tab. It comes on by default.
  2. Click a format chip under the player.
  3. Click the chip you already picked to open that format's settings: fill the screen or keep bars, and what goes in the bars.
  4. Each format keeps its own settings. Going from 9:16 to 16:9 does not undo what you did in the other.
Reframe automatically
Leave it off
When the video was already shot in the final format and you want no crop at all.

Treat the colours

free account

White balance, levels and contrast measured on your own footage. If the edit has two cameras, they are matched before any look goes on top.

  1. Go to the Colour tab on the right and turn on Treat the colours.
  2. Pick the contrast — Soft, Balanced or Strong — and the intensity.
  3. Hold See the original, below the player, to compare on the same frame.
Treat the colours
Careful
On iPhone this is the first thing Safari drops when memory gets tight.

Separate from the background

free accountmuch better in the app

Blur the background or push it back. The installed app uses a much heavier model for this.

  1. On the Colour tab, turn on Separate from the background.
  2. Choose how much to blur.
  3. Check the preview on a part where you move — while still, any cutout looks fine.
Careful
Loose hair and a background the colour of your shirt are where every model fails.

Skin, Vignette and Grain

free account

The three finishing switches, all on the Colour tab. Skin smooths without erasing the face; Vignette darkens the edges to pull the eye in; Grain gives texture back to an image that is too clean.

  1. Turn them on one at a time and look at the preview in between.
  2. Set the strength right under each switch.
  3. When in doubt, leave all three off: they add up, and at full tilt together the video looks fake.

Text on screen

Everything is placed in the preview itself, by dragging — there is no coordinate field anywhere.

Captions

free account

Straight from the speech, already in sync, with ready-made styles. On vertical video they are what holds people watching without sound.

  1. Turn on Captions, on the Improvements tab.
  2. Under Settings, pick the style.
  3. Use Scale for the size — the same style needs different sizes in 9:16 and 16:9.
  4. Drag the block in the preview to the height you want.
  5. Proper noun wrong? Fix the captions, below the player.

Lower third

free account

Name and role of whoever is speaking, coming in and out on its own at the start.

  1. Turn on Lower third and open Settings.
  2. Type the name and the role. With more than one person on screen, use Add person.
  3. Set the size and drag the bar in the preview.

Highlighted text

free account

One sentence of what was said, big on screen, exactly when it is spoken. You pick it in the text, not on the clock.

  1. Turn on Highlighted text.
  2. Under Select in the text the part you want to highlight, mark the sentence with the mouse.
  3. The highlight comes and goes with the speech. Adjust size and position in the preview.

Sign-off

free account

The end card with your logo, your name and the invitation to follow.

  1. Turn on Sign-off and open Settings.
  2. Choose an image for the logo, or keep it text only.
  3. Set how long it stays. Two seconds is enough; past that, people have already left.

Sound

What nobody sees and everybody hears.

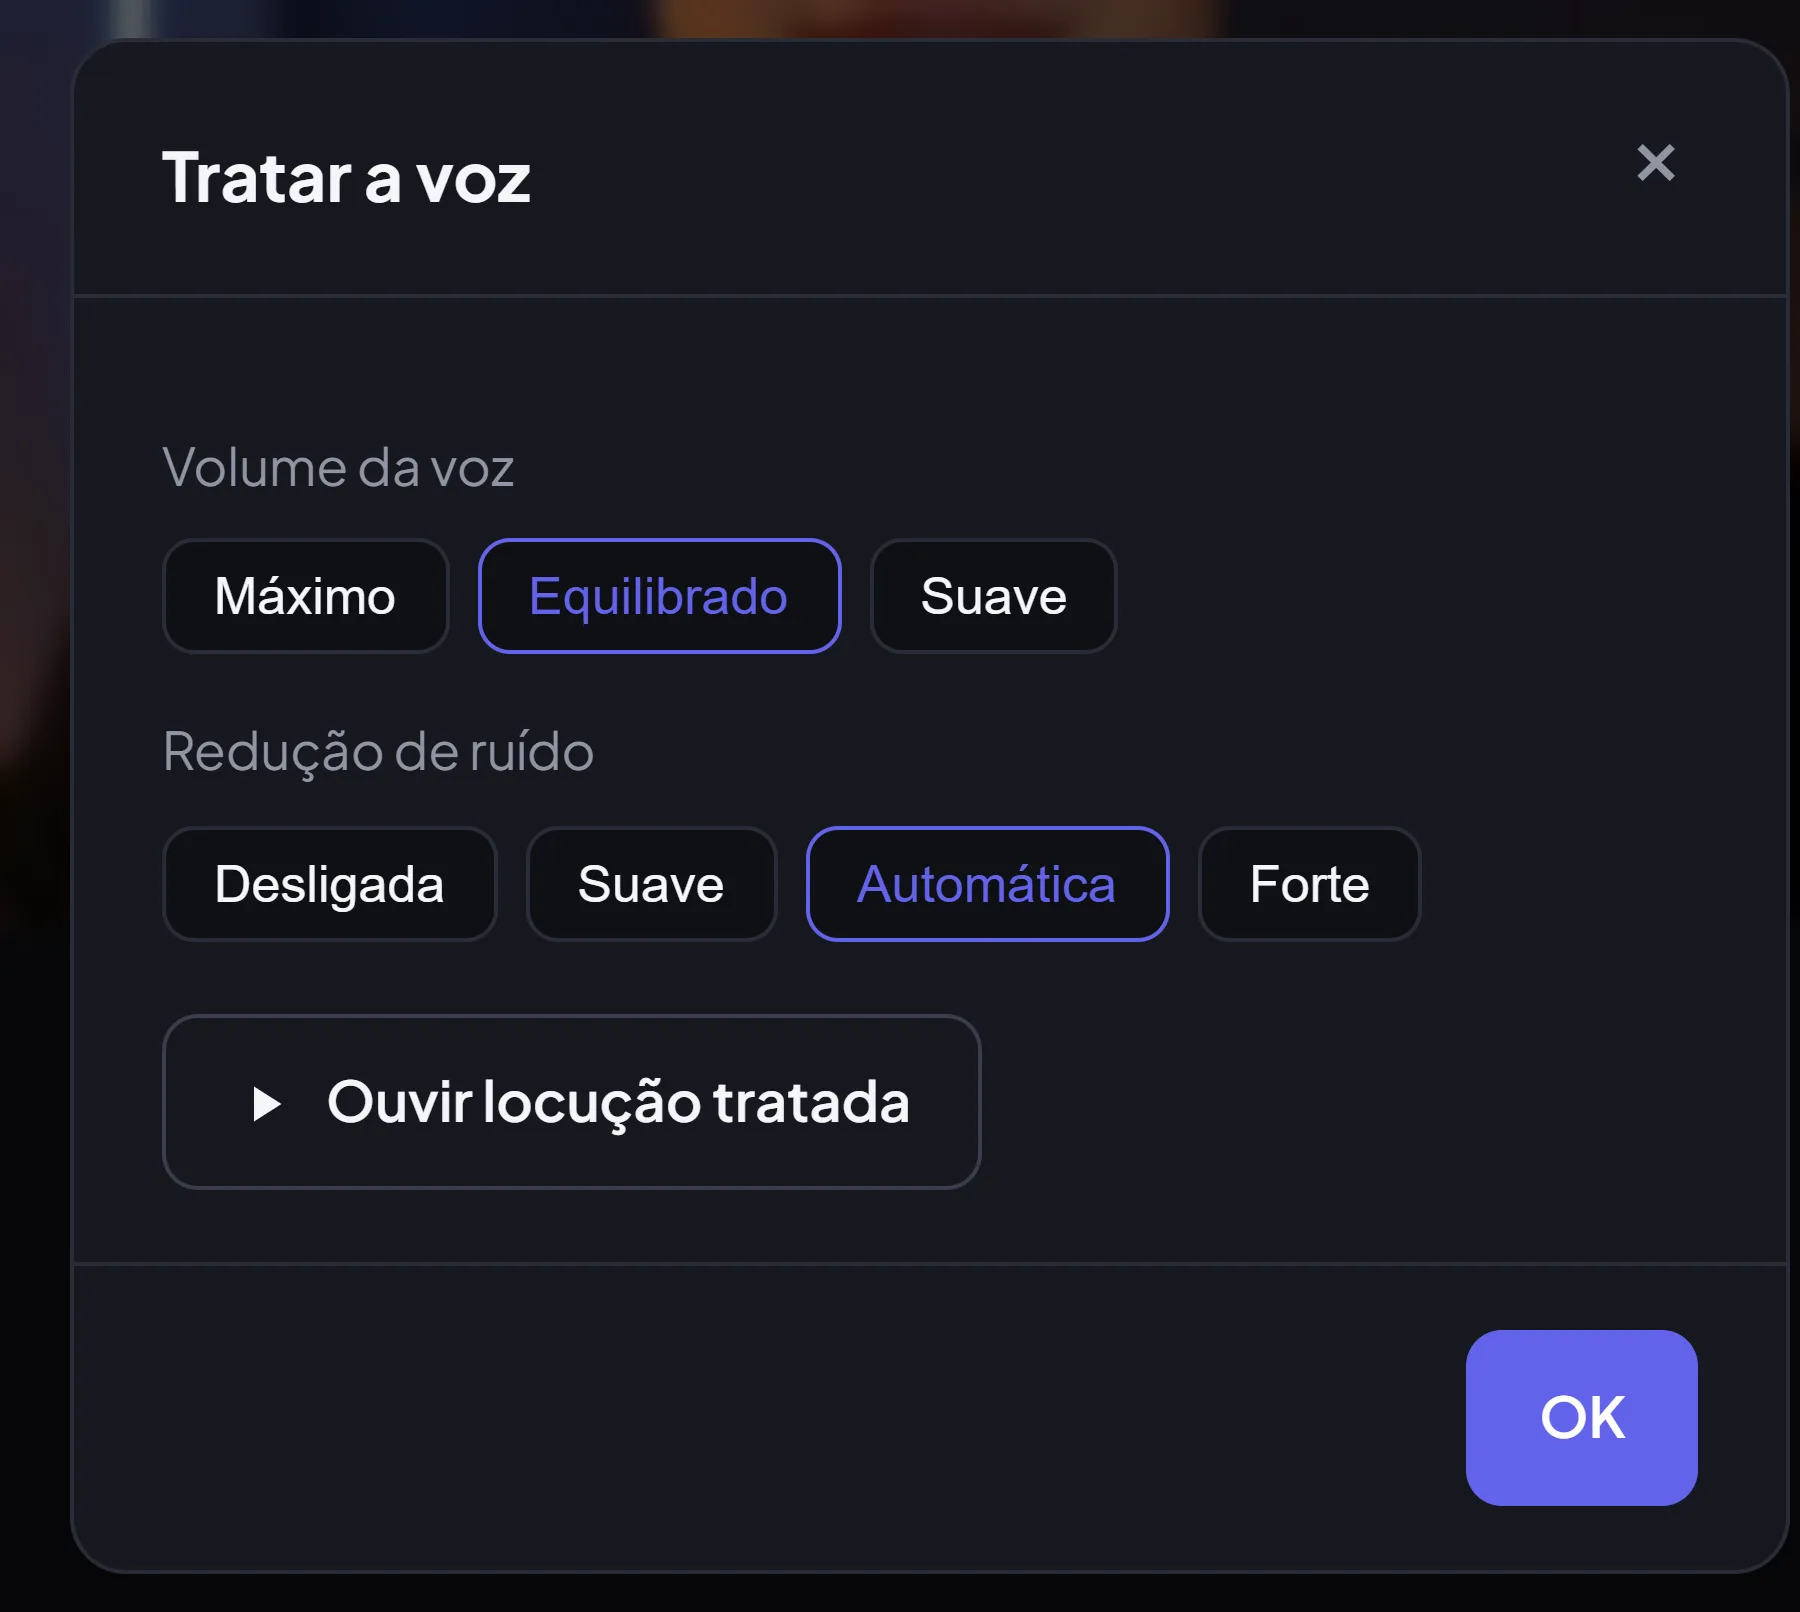
Treat the voice

free account

Background noise reduced, every scene at the same level and peaks safely under the ceiling. It is what separates “shot on a phone” from “shot properly”.

  1. Turn on Treat the voice and open Settings.
  2. Choose how much noise to remove and the loudness ceiling for where the video is going — social asks for louder.
  3. Click Hear the treated voice and compare with the original.
Treat the voice
Turn it on when
Whenever there is more than one scene — that is where uneven level shows up.

Soundtrack

free account

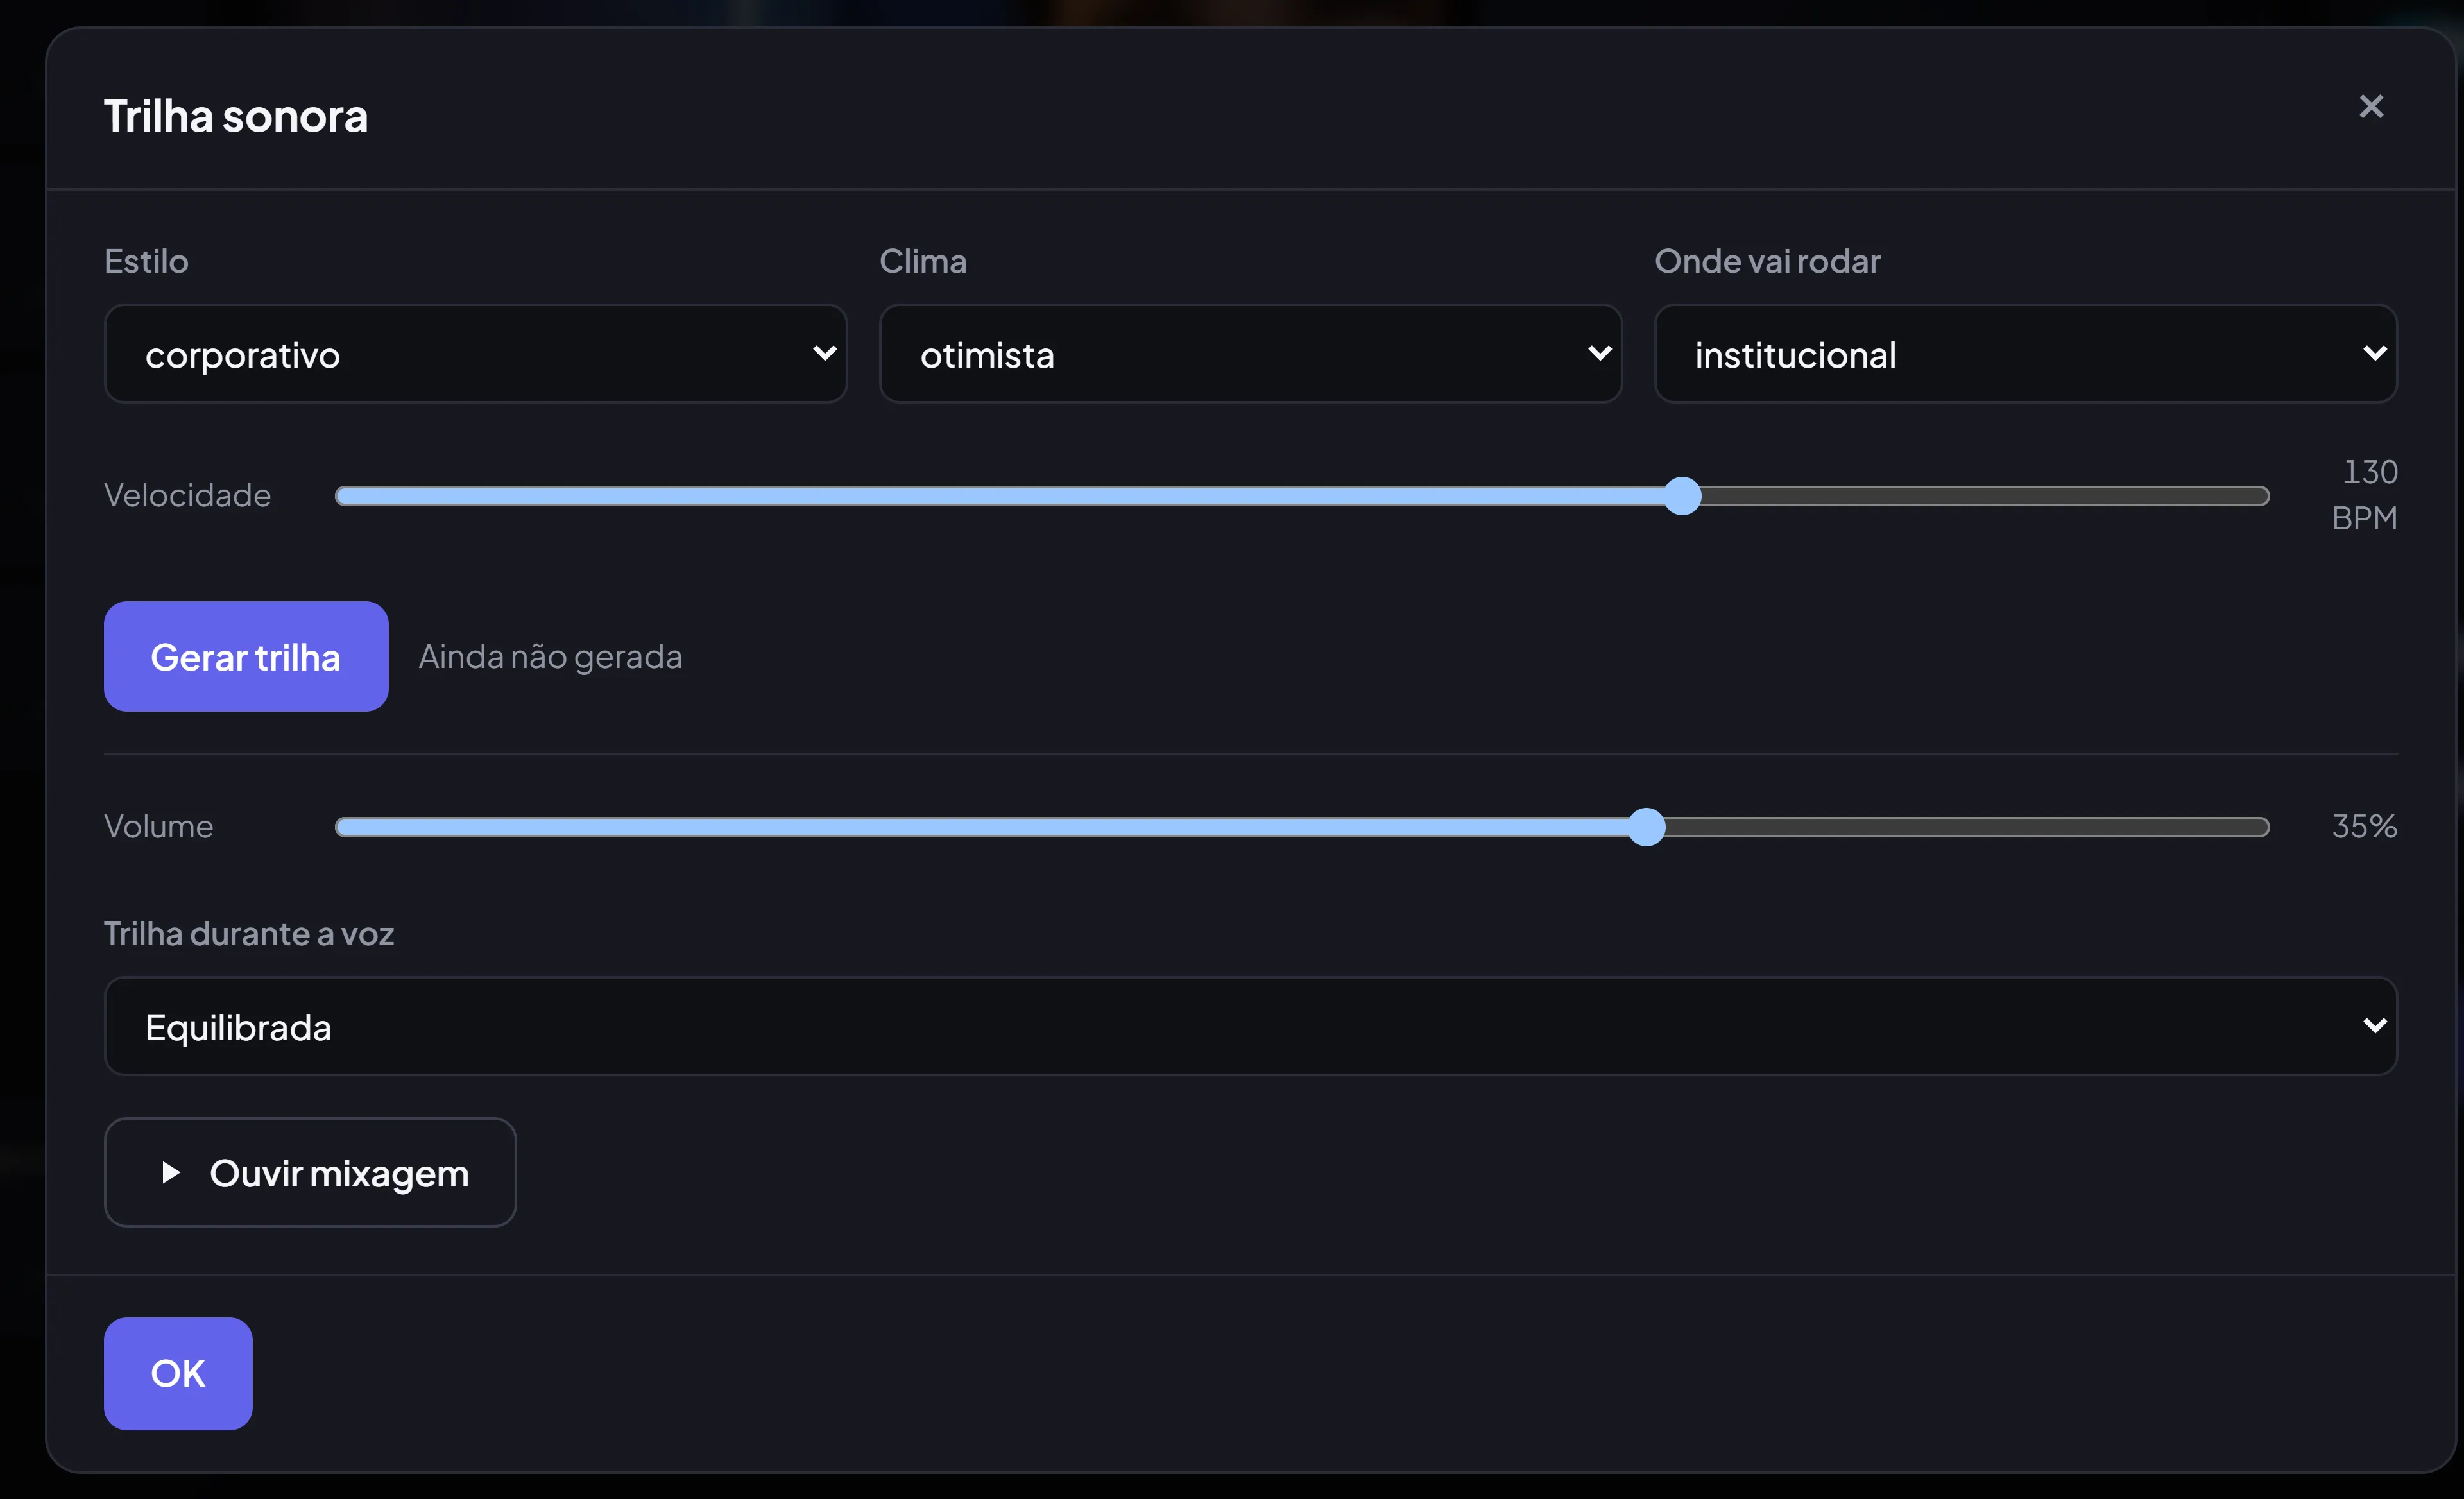
Generated at the length of your edit — no cutting mid-bar — and it steps out of the way on its own while there is speech.

  1. Turn on Soundtrack and open Settings.
  2. Pick Style, Mood, Where it will run and the tempo in BPM.
  3. Click Generate soundtrack and wait. Not right? Redo.
  4. Set the volume and, under Music under the voice, how far it ducks.
  5. Hear the mix checks voice and music together before you export.
Soundtrack

Output

Where the work becomes a file.

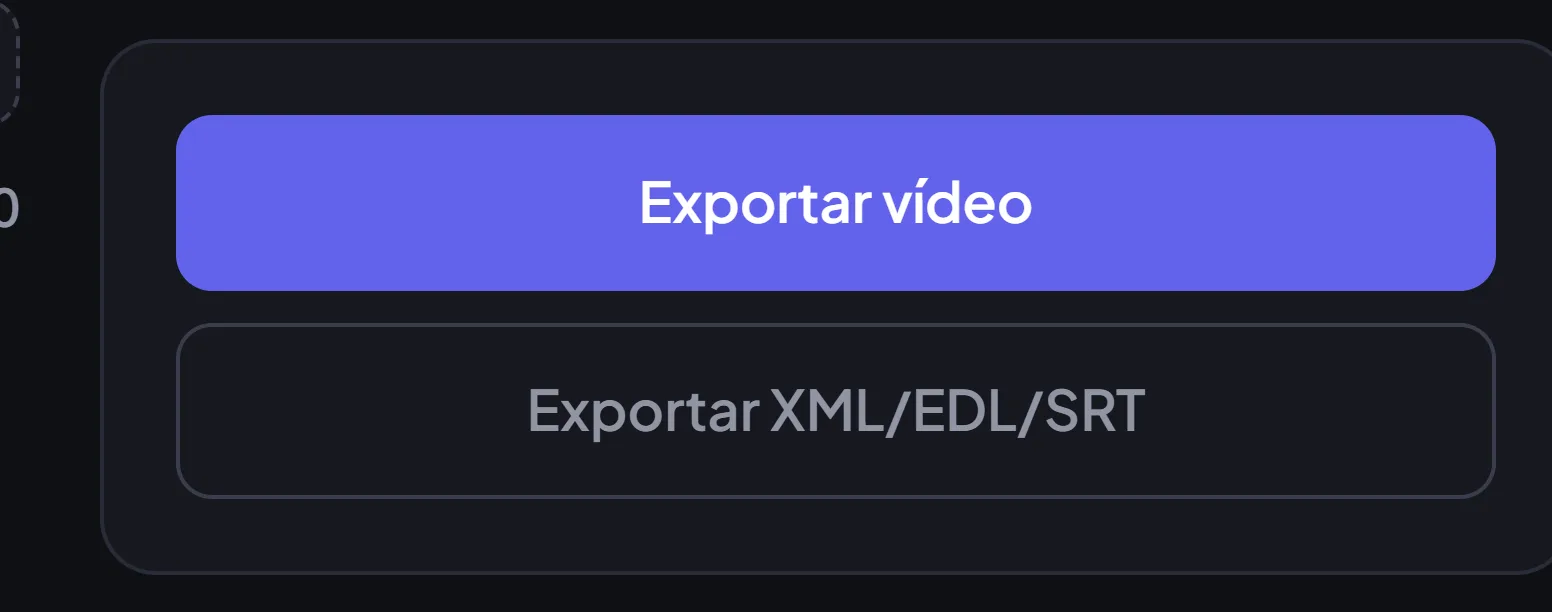
Export video

free account · 5 a month

An MP4 ready to post, in the format you picked on the chips.

  1. Watch the whole preview. What is in it is what comes out.
  2. Click Export video and confirm.
  3. Keep this tab open and visible until it finishes — in the background the browser holds the work.
  4. Need all four formats? Export one, switch the chip and export again: each format kept its own settings.
Export video

Export XML/EDL/SRT

free account

When someone else finishes the job: out goes the timeline, not the flattened video.

  1. Click Export XML/EDL/SRT, under the export button.
  2. You get the cuts, the reframing as a transform, the .cube for the colour, the person mask and the .srt.
  3. Open it in Premiere, Final Cut or DaVinci. The original files stay where they were — nothing was re-encoded.

Your projects

free account

A project stores the decisions, not the video — that is why it is light, and why the file has to stay where it is.

  1. Save project, at the top, at any time.
  2. Open project to come back. On Chrome and Edge it reopens the videos on its own.
  3. On Safari and Firefox the browser will not keep that permission: it asks for the files again, once, all together.
  4. Happy with the settings? PresetsSave the current ones, and the next video starts there.

Pre-render

installed app only

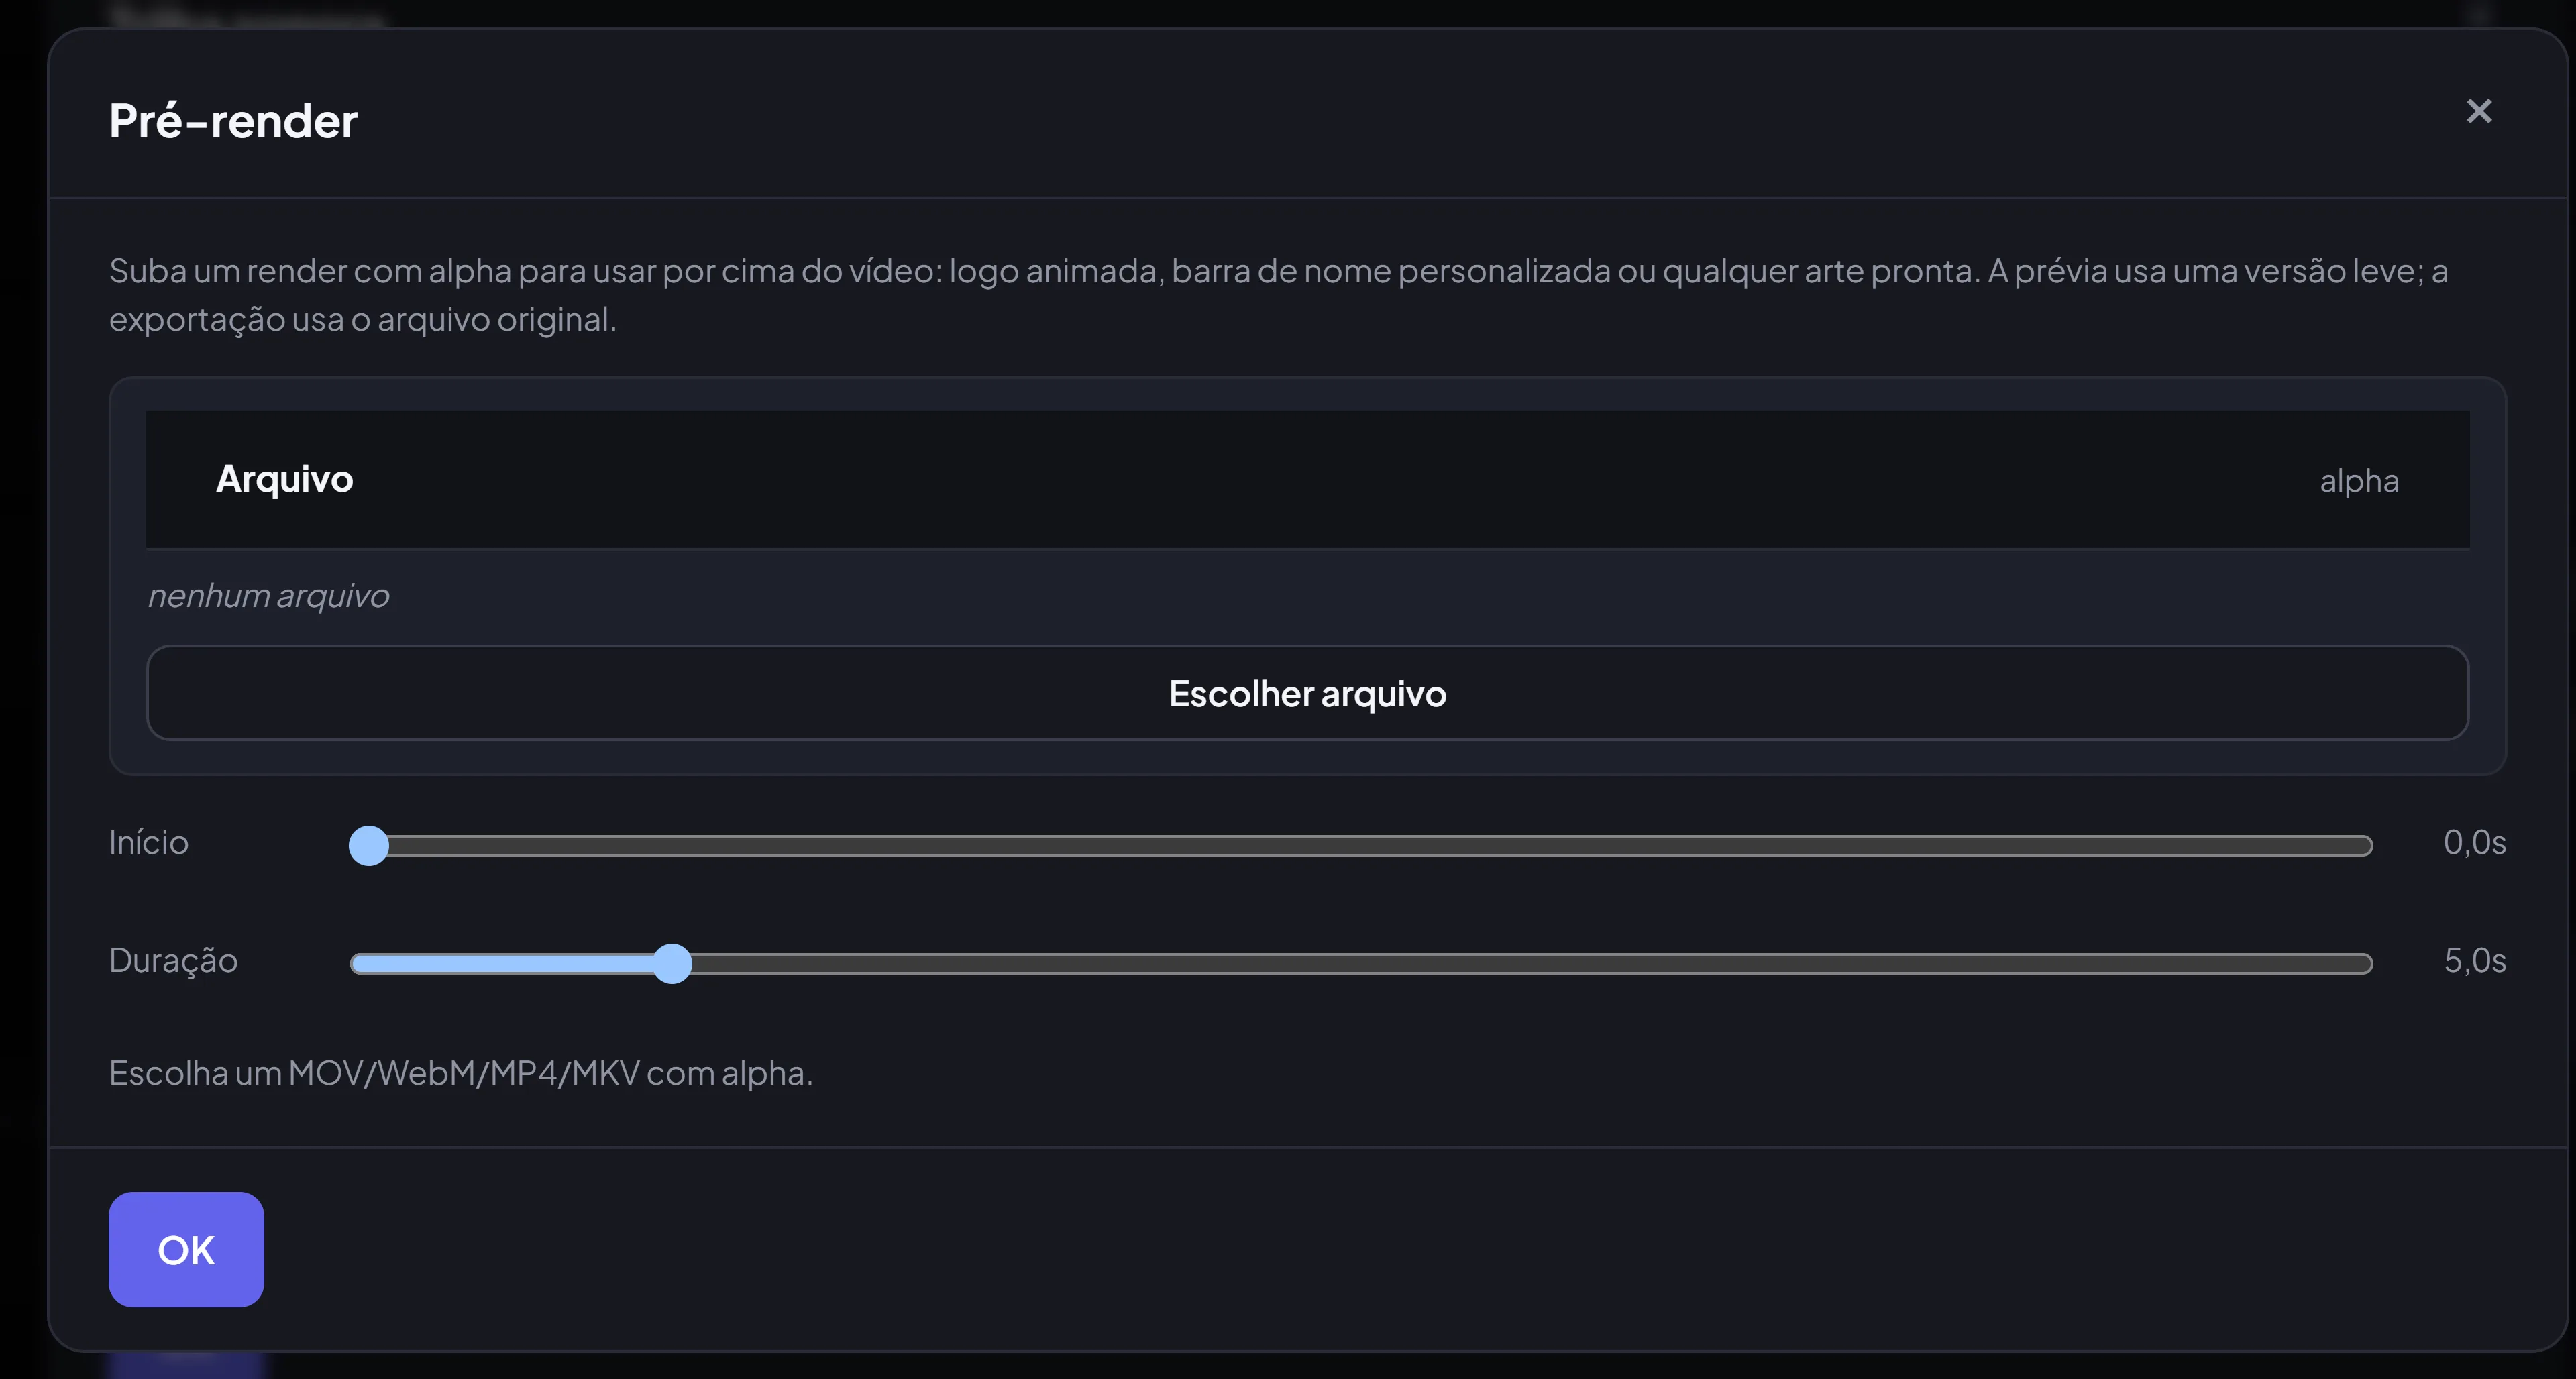
Your own finished artwork on top of the video: an animated logo, a lower third you designed, anything with a transparent background.

  1. Turn on Pre-render and click Choose file.
  2. Send a render with alpha — ProRes 4444 or WebM with transparency.
  3. Give the start and the duration. The preview uses a light version; the export uses the original file.
Pre-render
In the browser
The switch shows greyed out: this is the one feature that exists only in the installed app.

When there are many takes

The path for people who shoot the same thing ten times and want the best piece of each.

  1. Drag all the files in at once. They come in as scenes, in the order you dropped them.
  2. If one does not fit, the editor says which and why before loading — and loads the rest. Nothing hangs halfway.
  3. Reorder them under Videos in the edit, or add more later with the add-video button next to the player.
  4. Turn on the take selection once, with the whole edit in place: every read is a server call.
  5. Go down the list. On real material, 7 out of 10 takes were discards — the list is where the time is won.
  6. Turn on Treat the voice: with many takes, uneven level between scenes is the likeliest flaw.

When something does not come out right

The four that come up most, with the real cause.

It asks for the files when I reopen

Safari and Firefox will not let a site keep file permission. On Chrome and Edge it reopens on its own; elsewhere it asks for everything at once.

The export stopped halfway

The project is too big for the tab's memory, or the tab went to the background. Keep it visible — and check the limits table.

It looks different on iPhone

Under memory pressure Safari drops the colour treatment. Cuts, captions, format and sound come out the same.

The captions spelled a name wrong

Use Fix the captions: the change holds for every appearance and also feeds what the AI uses to decide.

See the limits table →

Open a raw video and watch the first edit appear

Nothing to install, no account to try it, and your file never leaves your computer.

Start editing